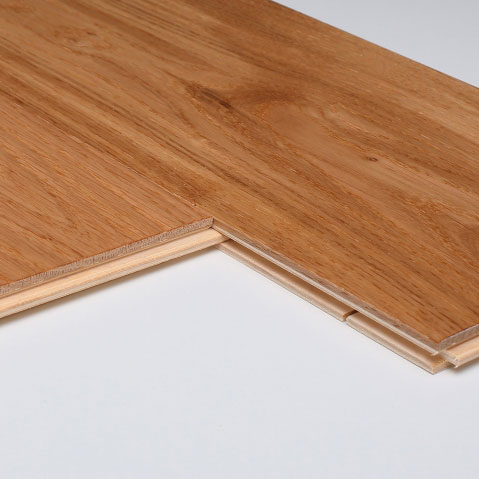
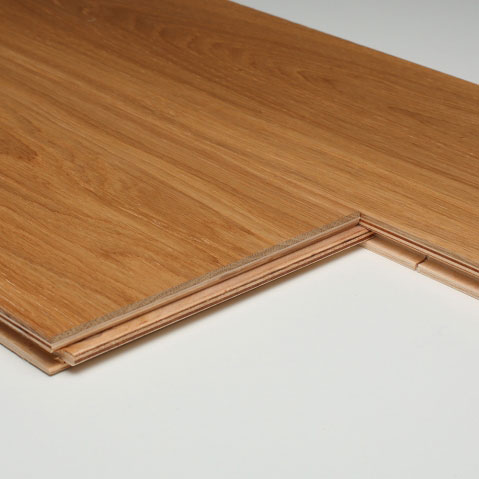
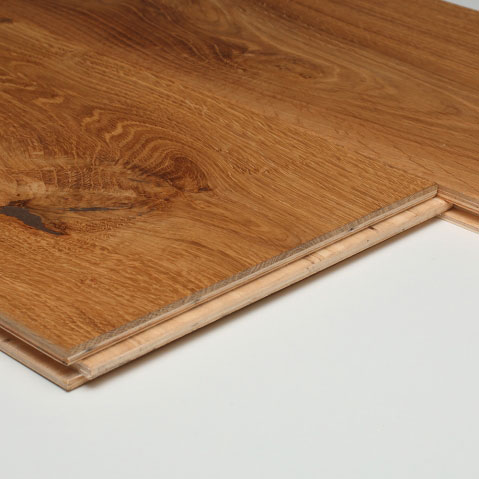
With 100% natural origin, finished with noble woods from all over the world, combining design to a superior manufacturing quality, our floors are a guarantee of durability and refinement, whatever the choice may be.
In African, European and North American woods, the Castro Woodfloors floors are finished in factory, giving to all the spaces an immaculate and characterful aesthetics.
CASTROWOODFLOORS PRODUCT INSTALLATION
Thank you for choosing CASTROWOODFLOORS products for your home or commercial environment.
40 years experience producing solid and engineered wood floors ensures you will receive a high quality product that will be part of your home for many years.
Wood flooring is the intelligent choice. It combines many of the advantages that nature offers, making it ideal for a multitude of installations.
Its anti-allergic features, easy cleaning and maintenance bring obvious benefits for health. Combining thermal and acoustic properties with its natural warmth, a wood floor helps create the ambience suitable for almost every situation.
This manual aims to inform the consumer / installer of the best ways to use our products. Please be advised that this manual is based on the experience we have gained over the years using the very best in the manufacturing procedures and raw materials.
The CASTROWOODFLOORS are manufactured under the following standards:
EN 13.226 - Solid T/G parquet
EN 13.489 - Engineered parquet.
EN 14.354 - Venner Engineered parquet.
EN 14.342 - Conformity and Marking - CE
Fitting instructions for solid and engineered parquet
Product verification.
Check the receipt for the product to ensure that the amount received is inline with the amount invoiced.
Even though Castrowoodfloors products are subject to strict quality control, please inspect each board prior to fitting. Castro & Filhos will not accept any claims of defects or damage discovered after the product has been fitted.
Because wood is a natural material, some of the characteristics and colour tones can vary.
Wood is a photosensitive material, it reacts in contact with the sun, its colour changes when removed from boxes, developing a process we call oxidation. This phenomenon tends to homogenize the colour after some time.
CastroWoodFloors installation should be the last step of any construction site.
Tools to be used
Moisture meter for concrete and Wood, electric saw, hand saw, hammer, knife, square, tape, chalk line, chalk, eye protection and dust mask.
Verification of the floor
It is essential to check the subfloor before fitting. In order to ensure that any concrete subfloor is sufficiently dry, the fitting should not take place until at least 60 days after the screed has been poured. The subfloor must be tested, to check for moisture in compliance with the European norm. The humidity of the floor screed (using the unit Gann HT85T / MB35 or similar) must lie between 2.0 and 2.5%.
At the time of application, the worksite must already be closed with doors and windows properly secured ensuring a stable environment for the application of the wood.
Begin the installation of the floor shortly after opening the package, having stored the product on site 48 hours prior to installation, to ensure that the product is acclimatised correctly. The room temperature should be at
18-22 ºC and a relative humidity of 40 - 60%.
While the site is not inhabited,
the surface must be protected from direct sunlight.
Application site
The application site should be maintained at a constant temperature of about 18-22 ºC and a relative humidity of 40-60%. If there is excessive heat in the room, the humidity level may be so low as to cause the flooring to shrink. The wood is a natural product, so, the boards can contract, causing small gaps in the joints of the wood. Use a humidifier to minimize this risk.
CastroWoodFloors are designed for use in interior floors that are not exposed to excessive moisture.
Do not use in exterior locations and saunas. Check with the manufacturer so that additional recommendations can be provided.
Application site with heated and cooling subfloors.
Before installation of Castrowoodfloors, there are 2 important steps in the floor preparation process.
First of all, the heating system can be only be used after at least 6-7 weeks of the cement screed application.
Then the temperature should be set for 20º C / 68ºF, and increased 5º in each of the following 6 days until reaching 45º (113ºF).
This temperature shall be maintained at this level for 3-4 days depending on the thickness of the floor. After this period, the temperature should be lowered also 5º C per day, until 20ºC.
After this period, the moisture content of the floor must be measured in order to decide if it is dried enough to receive the wooden floor (check
Verification of the floor).
Important advices:
Please use temperature and moisture sensors to keep the environment inside proper levels: temperature of about 18-22 ºC and a relative humidity of 40-60%. Humidification equipment may be needed.
Cement screed maximum contact temperature cannot exceed 27º C / 80.6º F
When heating season starts, please turn up the temperature gradually: maximum 2º C each day.
Defects like surface checks or shrinkage happen due to high flooring temperature.
Application Method
Installation with screws / nails
This process can be used with a sub structure of wood-based panels or frames installed to receive the parquet.
Floors must be covered with a polyethylene film of 0.2 mm. Overlap the joints by 20 cm and fix them all completely with tape. To avoid bacterial infestation, old carpets, rugs, etc. should not be used as a basis for laying the parquet.
Application glue
This process can be used by laying the parquet directly to the concrete. In this case, the floor must be firm, dry and smooth (according to DIN 18 356).
Please use a ruler of two meters to check the ground and any ripples above 3 mm should be smoothed with a trowel before laying the flooring. We recommend using glues monocomponent type
Bona R850 or
R850T (application by gun),
R580 (insulating moisture to the ground floor) or similar. Water-based glue is not allowed to be used.
The room´s width must be measured to calculate the number of row´s, and calculate how much narrower must be the last row. It should be no less than 40-50 mm. In this case the first row must be also sawn to a narrower dimension.
The expansion gap is also needed. Usually, a 5-10 mm gap should be left to be covered by the skirting board.
The first row should be aligned, with the help of a string, with chalk or ruler.
Start by spreading with a trowel or a plastic spatula, the amount of glue recommended by the glue manufacturer. Make sure it is enough for the first row of strips. Do not apply glue in an area greater than the amount likely to be covered by parquet. When open, the glue sets due to the temperature and humidity in the room. When the glue is not being used, keep the container tightly closed to prevent the glue from drying. The pieces should be immediately laid on wet glue.
Each element should be laid in place, carefully fitting the tongue into the groove by hand or with a tapping block without damaging the product. Each piece is properly aligned, so it is not necessary for the tongue and the groove to be glued!
The coverage of glue on smooth surfaces can vary from 1.2 to 1.4 kg/m2, and in very rough surfaces may range from 1.4 to 1.8 kg/m2.
The cleaning of glue on the varnished surface must be done immediately after application of each row so as not to oxidize the varnish.
If the application site is a ground floor (ground floor or basement), we recommend applying a surface moisture barrier.
Floating Installation
Floors must be covered with a polyethylene film of 2 to 3 mm, and isolated on one side. Overlap joints by 20 cm and fix them all completely with tape. To prevent a bacterial infestation old carpets, rugs, etc., should not be used as a basis for fitting. Each piece shall be laid in place, carefully fitting the tongue into the groove by hand or with a tapping block. Each row must be properly aligned. The ends of the pieces should be staggered by at least 300mm. The groove of the piece must have enough glue to ensure good adhesive bonding.
Site preparation
Castrowoodfloors can be supplied already finished with lacquer or oil. So, the parquet should be fitted on the final stage of the construction.
The first row should be laid from left to right with the groove facing the wall. Install the pieces so that the grain of the wood is facing toward the strongest light source. The floor should be laid in the length of the room, where possible. Each piece must be at least 30cm in length. Arrange the pieces so that the ends have a gap of at least 30cm apart, to ensure a very firm surface. Leave a space of expansion of 15mm around all obstructions, such as walls, sills, heating pipes, etc.. Expansion joints should be provided where the parquet has more than 10meters long and 6meters wide and always near the doorways.
Flooring Maintenance
At every external doorway there should be a mat to protect the flooring from water and dirt. Use only tables and chairs fitted with soft casters or base protection in felt. In domestic cleaning, use a vacuum cleaner or a damp cloth.
The floor should be treated regularly with maintenance products for wooden varnish. The use of wax diluted in water should be avoided because, over time, is causes yellowing of the varnish and reduces the ability to repair areas that may be damaged. Always dry the surface until there is no visible sign of any moisture.
We recommend regular maintenance with the Bona Care floor kit.
Concerning oil maintenance we advise regularly vacuum or dust mop the floor to prevent scratching the floor.
Wipe up spills and spots immediately with a damp cloth. One to four times a year, mop your floor with an Oil Refresher. This will introduce a small amount of oil into the floor to freshen it and extend the time before a re-oiling becomes necessary. Do not use ammonia or oil-based wax, polish, household dust treatment chemicals, abrasive cleaners, furniture cleaners to clean your floor. Do not wet mop the floor, as excess moisture may cause damage to your wood floor.
For further details of oiled floor maintenance we recommend to check on
www.wocawoodcare.com 


